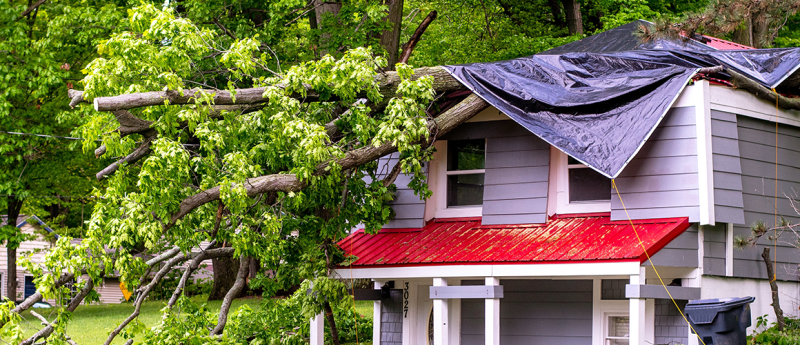
When a storm blows through or unexpected roof damage occurs, it can leave your home vulnerable to water leaks, structural damage, and even mold growth. But rather than panicking about extensive repair costs, there’s an efficient and cost-effective temporary solution available: using tarps for temporary roofs.
Tarps are versatile, durable, and quick to install, making them an excellent choice for emergency roof repairs. In this comprehensive guide, we’ll cover everything you need to know about using tarps to protect your home, from choosing the right materials to installing them effectively.
Why Tarps Are Essential for Emergency Roof Repairs
Roof damage can occur unexpectedly, often due to severe weather, falling branches, or accidents. Whether it’s a small leak or a large hole, leaving your roof exposed can quickly lead to water damage that threatens the integrity of your home. Roof tarps for emergencies provide a fast, temporary solution that shields your property from further damage, allowing you to take your time arranging permanent repairs.
One of the biggest advantages of using home repair tarps is their accessibility. With a little preparation, you can have a quick emergency roof coverage plan ready, ensuring your home is protected against further deterioration. Roof tarps are an inexpensive, temporary solution that can buy you the time needed to get professional help without incurring significant additional damage.
The Benefits of Using Tarps for Temporary Roof Repairs
- Cost-Effective: Investing in temporary roof covering is much cheaper than emergency repair services, especially during peak storm seasons when contractors are in high demand. A durable tarp provides a stop-gap measure to prevent costly repairs.
- Immediate Protection: Tarps are readily available at most hardware stores and can be quickly deployed to provide tarp roof protection. This is particularly useful if the damage occurs during a weekend or holiday when professional help may not be immediately available.
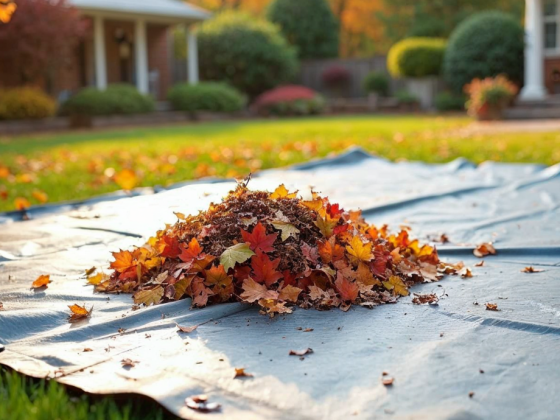
- Versatile Uses: Beyond roofing, home repair tarps can be used for various purposes, such as covering broken windows, protecting outdoor furniture, or even as ground covers during renovation projects.
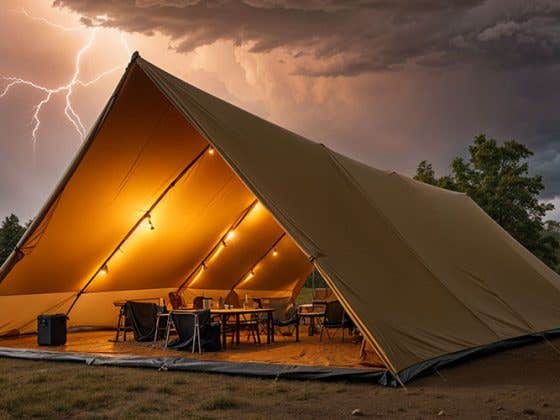
- Weather Resistance: High-quality waterproof tarps for roofing can withstand rain, snow, and even UV rays, ensuring your roof remains protected for weeks, if not months, while you plan permanent repairs.
How to Choose the Right Tarp for Your Roof
Not all tarps are the same, and selecting the right one can make a huge difference in how well it performs under harsh conditions. Here are some key features to look for:
1. Material
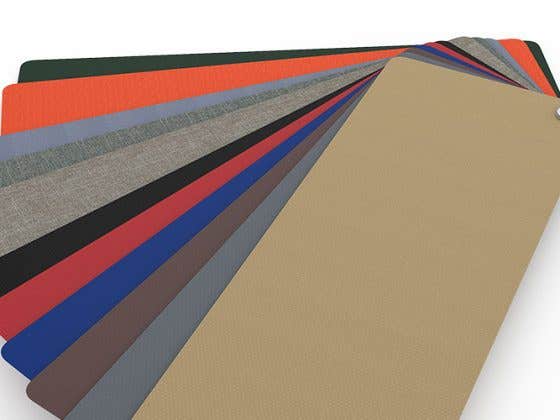
When it comes to roof tarps for emergencies, the material should be durable and able to withstand the elements. Heavy-duty tarps for roofs made of vinyl, canvas, or polyethylene are ideal as they provide strong resistance against tears, UV rays, and water.
- Vinyl Tarps: Known for their durability and waterproof properties, vinyl tarps are great for long-term use.
- Polyethylene Tarps: These are lightweight yet tough, making them a popular choice for roof cover tarps for repairs.
- Canvas Tarps: While not fully waterproof, canvas tarps are excellent for breathable coverage, ideal if you need to prevent condensation build-up under the tarp.
2. Size and Thickness
When selecting a temporary roof covering, ensure that it’s large enough to cover the damaged section entirely. Ideally, you should opt for a tarp that extends at least 2-3 feet beyond the damaged area to provide extra protection. Thicker tarps (measured in mils) offer better durability, especially for prolonged exposure to the elements.
3. Waterproof and UV Resistance
For effective roof tarp protection, prioritize tarps that are fully waterproof and UV-resistant. These tarps prevent water seepage and protect your home from sun damage, which can deteriorate the roofing material over time.
Step-by-Step Guide to Tarping a Damaged Roof
When a roof is damaged, time is of the essence. Here’s how you can effectively install a tar for temporary roof coverage:
Step 1: Assess the Damage
Before purchasing or installing any tarp, carefully assess the roof damage. Look for broken shingles, exposed underlayment, or areas where water may be seeping through. Clear any debris, such as branches or loose tiles, that may have fallen during the storm.
Step 2: Gather Your Tools and Materials
For roof tarp installation, you’ll need the following items:
- A high-quality heavy-duty tarp for roofs
- Roofing nails or screws with washers
- Ladder (preferably with a stabilizer)
- Safety harness (for added security)
- Hammer or power drill
- Sandbags or bricks (to weigh down the edges)
Step 3: Lay the Tarp Over the Damaged Area
Carefully unroll the tarp and position it over the damaged section of the roof. It’s important to lay the tarp flat, with the smooth side facing up to help rainwater slide off. Ensure it covers the entire damaged area with a few extra feet on each side.
Step 4: Secure the Tarp
Begin securing the tarp by attaching it to the roof using nails or screws. For better stability, use roof cover tarps for repairs that come with built-in grommets, which allow you to securely fasten ropes or bungee cords. Be cautious not to damage the shingles underneath while securing the tarp.
Step 5: Weigh Down the Edges
To prevent your quick tarp roof solution from blowing away during high winds, weigh down the edges with sandbags or heavy objects. This extra step ensures that your roof tarp protection stays in place even during harsh weather.
Safety Tips When Installing Roof Tarps
Installing tarps on a damaged roof can be dangerous, especially if you’re not experienced with climbing ladders or working at heights. Here are some safety precautions to keep in mind:
- Wait for Clear Weather: Avoid installing a tarp during a storm. Wet roofs can be slippery and increase the risk of accidents.
- Use a Safety Harness: If your roof is steep or particularly high, always use a harness to prevent falls.
- Have Someone Assist You: Never attempt to install a temporary roof covering alone. Having a helper can make the process safer and more efficient.
Common Mistakes to Avoid When Tarping a Roof
Using tarps may seem straightforward, but there are some common mistakes to watch out for:
- Using a Tarp That’s Too Small: A tarp that doesn’t fully cover the damaged area won’t provide effective protection. Always choose a tarp that’s slightly larger than needed.
- Improperly Securing the Tarp: If the tarp isn’t tightly secured, it can flap in the wind, causing further damage. Make sure to use plenty of fasteners and weigh down the edges.
- Leaving the Tarp Up Too Long: While roof tarps are durable, they are not designed for long-term use. Check the condition of your tarp periodically and replace it if you notice any tears or leaks.
When to Replace a Temporary Roof Tarp
Even the best heavy-duty tarps for roofs will degrade over time due to sun exposure, wind, and rain. Here are signs that it’s time to replace your tarp roof protection:
- Fading or Discoloration: Prolonged exposure to the sun can weaken the material.
- Tears or Holes: Any visible damage reduces the tarp’s ability to protect your home.
- Reduced Water Resistance: If water begins to seep through, replace the tarp immediately to prevent damage to your interior.
Be Prepared for Emergencies with Roof Tarps
Using tarps for temporary roofs can be a lifesaver during emergencies. Whether it’s a storm-damaged roof, a fallen tree branch, or a leaky spot, having a reliable quick emergency roof coverage plan can save you thousands in repair costs and keep your home safe and dry. By investing in the right heavy-duty tarps for roofs and knowing how to install them correctly, you can be prepared for whatever Mother Nature throws your way.
Final Tip: Keep a few high-quality home repair tarps in your emergency kit so that you’re always prepared to protect your roof, no matter the situation. This small investment can offer peace of mind and prevent costly damage in the future.






Recent Comments