Ghosts, Goblins and Chills, Oh My! Halloween is a time to embrace the spooky, and what better way to do that than by turning your backyard into a thrilling haunted maze? Whether you’re hosting a party or simply looking to create an eerie experience for trick-or-treaters, a tarp-based maze is an affordable and fun way to entertain. With the right tools and a bit of creativity, you can craft a maze that will send chills down anyone’s spine. This step-by-step maze guide will help you create the ultimate haunted experience.
Why Use Tarps for Your Halloween Maze?
Tarps are incredibly versatile for Halloween decor. They’re durable, cost-effective, and perfect for creating eerie walls and dark corridors. You can transform your backyard into a haunted house-style maze with minimal effort.
Tarps provide flexibility—you can reuse them for various events, from Halloween to birthday parties. If you’re hosting a large-scale Halloween event, investing in an event tarp is a great way to ensure your maze stands strong, even if the weather doesn’t cooperate.
Now that you’re familiar with the need for tarps, let’s get started on building your maze.
Step 1: Gather Your Materials
Before you start, gather the essentials to ensure smooth maze-building. Here’s what you’ll need:
- Black tarp for Halloween: Forms the spooky, shadowy walls of your maze.
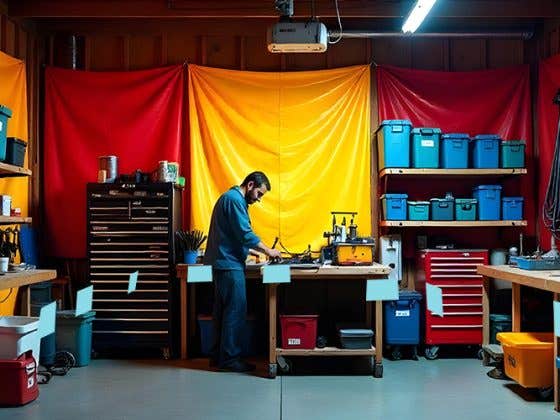
- Party tarps: These can be used to cover larger areas or divide sections of your maze for a more dynamic experience.
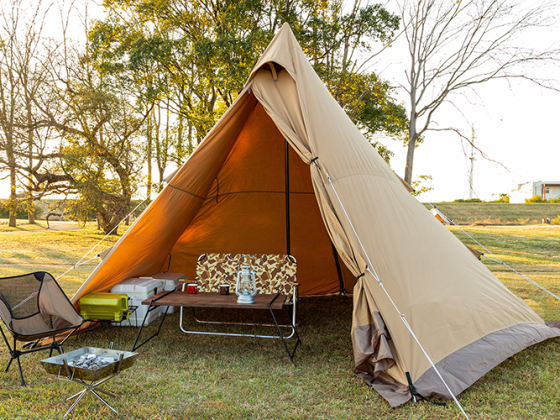
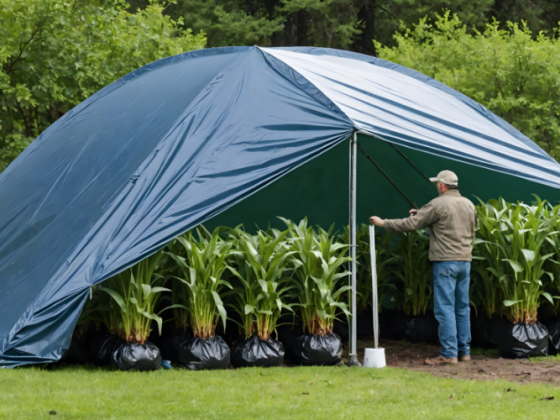
- Tarp tents: This can serve as a shelter area or entry point for the maze, especially useful if you’re hosting an event outdoors.
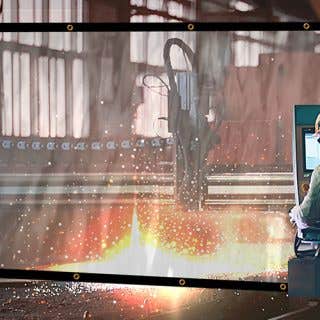
- Industrial Curtains: Industrial curtains used for segmenting larger sections or creating dramatic entrances in your maze. Their thickness helps with soundproofing, creating an eerie silence before your guests move to the next section.
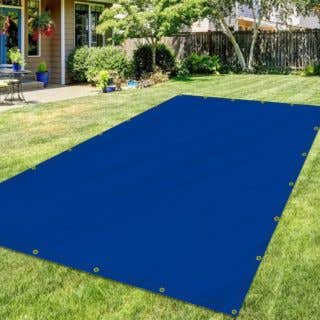
- Ground Covers: Can be used to create slip-resistant pathways. They also help protect your yard from wear and tear caused by foot traffic during the event.
- Stakes or poles: Used to support your tarps and create the structure of your maze.
- Zip ties, ropes, or bungee cords: To attach the tarps securely to the poles or stakes.
- Flashlights, lanterns, or string lights: Used to create eerie lighting without making the maze too bright.
- Halloween decorations: Items like skeletons, spiders, cobwebs, and eerie sound effects can enhance the spook factor.
- Fog machines and strobe lights: Optional, but highly recommended to add extra suspense.
- Halloween costume props: If you want live actors to jump out and scare guests.
Step 2: Select the Perfect Location
The key to a successful tarp maze is the location. If you’re creating a maze in your backyard, find a space that offers both privacy and enough room to build winding paths. If you’re hosting a larger event, a tarp party tent can act as the entrance area, keeping guests dry and sheltered before they dive into the spooky maze.
Outdoor spaces tend to be more unpredictable, so having a sturdy event tarp on standby is essential in case of bad weather. These tarps can also be used as makeshift ceilings in sections of the maze to block out light or create dark corridors.
Step 3: Design Your Maze Layout
Now comes the fun part: designing your haunted house maze! For inspiration, think about the types of scares you want to include—do you want guests to feel claustrophobic or lost? Are there places where something might jump out at them? Draw a layout of your maze on paper first, so you can plan out twists, turns, and dead ends.
Some haunted house maze ideas include:
- Narrow paths to create tension.
- Open areas where spooky characters or decorations can be revealed suddenly.
- Hidden doors or paths made with extra party tarps that can confuse and mislead guests.
Step 4: Build the Framework
To begin maze building with tarps, drive stakes into the ground at key points where you plan to hang the tarps. These stakes will act as the walls’ framework, supporting the tarps as you drape them over. For a sturdy structure, space the stakes 6-8 feet apart.
Once your stakes are in place, attach the tarps. Make sure you’re using black tarps for Halloween to create the dark, ominous atmosphere that haunted mazes are famous for. Use zip ties or rope to secure the tarps firmly, ensuring they don’t collapse during the event.
Step 5: Create Spooky Pathways
Now that your structure is up, you can get creative. Tarps allow for flexibility, so feel free to overlap them to create hidden entrances, false doors, or dead ends. One way to enhance the scare factor is to use an event tarp or party tarps to close off certain areas and then open them when guests least expect it, creating a sense of unpredictability.
To add dimension to your maze, consider hanging tarps at different heights. You can drape a tarp party tent over specific sections to create low ceilings, forcing guests to crouch or crawl through certain areas. This type of interaction adds a physical element to the fright and can disorient your guests.
Step 6: Decorate for Maximum Fright
Once the basic framework of your Halloween tarp maze is complete, it’s time to add the finishing touches. Here are a few decorating tips to really amp up the terror:
- Lighting: Use dim lighting like string lights, flickering lanterns, or flashlights to guide the way. Avoid bright lights; the darker the maze, the scarier it will feel.
- Sound Effects: Nothing sets the mood like eerie sound effects. Position hidden speakers throughout the maze to play haunting screams, footsteps, or whispers.
- Fog Machines: A staple for any haunted house, fog machines create a sense of mystery and can obscure parts of the maze, keeping guests on edge.
- Props: Add Halloween-themed props like hanging skeletons, cobwebs, creepy dolls, and ghost figures. Live actors in costume can also enhance the experience by hiding behind corners and jumping out to scare visitors.
- Themed Corners: If your maze is large enough, designate specific areas with different themes, such as a graveyard section, a haunted forest, or a mad scientist’s lab.
Step 7: Ensure Safety and Accessibility
While it’s essential to make your DIY Halloween maze as scary as possible, safety should always be a priority. Make sure the tarps are securely fastened and that all pathways are clear of any tripping hazards. If you’re hosting a large event, consider using an event tarp to mark out emergency exits or rest areas for guests who may want to step out.
Make sure there’s adequate airflow, especially in areas covered by tarps and tents. Additionally, it’s wise to have a few designated “safe zones” within the maze where guests can take a break if needed.
Step 8: Host the Ultimate Halloween Event
With your Halloween maze construction complete, it’s time to unveil your masterpiece. If you’re hosting a party, you can set up a tarp party tent outside the maze to serve as a gathering area for your guests. Here, they can relax, enjoy refreshments, and share stories about the scares they just encountered. Decorate this area with fun, festive Halloween décor to keep the mood light and entertaining.
If the weather turns for the worse, the party tarps can also double as extra shelter for guests waiting their turn to enter the maze.
Creating a tarp maze tutorial is all about making the most of simple, versatile materials to transform any space into a haunted wonderland. With just a few party tarps, some stakes, and your creativity, you can build an unforgettable experience for Halloween night. By following this step-by-step maze guide, you’ll not only create a terrifying maze but also ensure it’s safe, accessible, and reusable for future events.
In conclusion, tarps are a versatile, affordable option for turning your yard into a Halloween horror maze. Whether you’re using a tarp party tent for shelter, party tarps to divide sections, or an event tarp for a larger gathering, the possibilities are endless. Get started now and make this Halloween one to remember!






Recent Comments